A Little Winter Magic You Can Make at Home
There’s something so peaceful about the first snowfall-that quiet sparkle that makes everything feel new again. At October Roads Studio, I love capturing that feeling in my crafts. Today, I am sharing one of my favorite easy winter DIYs: homemade faux snow!
This simple recipe takes only a few minutes to mix up and uses supplies you probably already have in your craft stash. Whether you’re creating snowy ornaments, decorating your holiday village, or adding texture to wreaths and centerpieces, this faux snow will give everything a frosty, handmade charm.
What You’ll Need
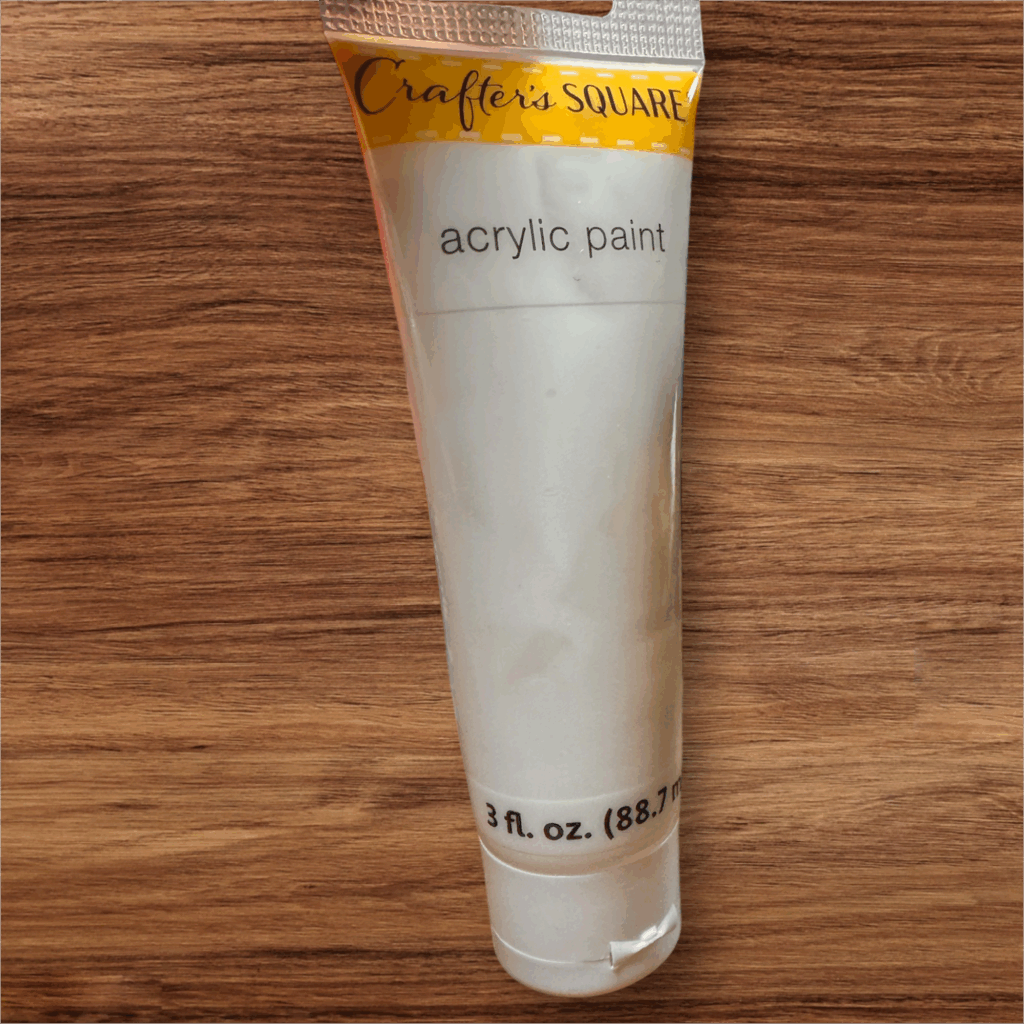
- 3 oz of white acrylic paint (a regular size paint bottle) -gives your snow brightness and coverage
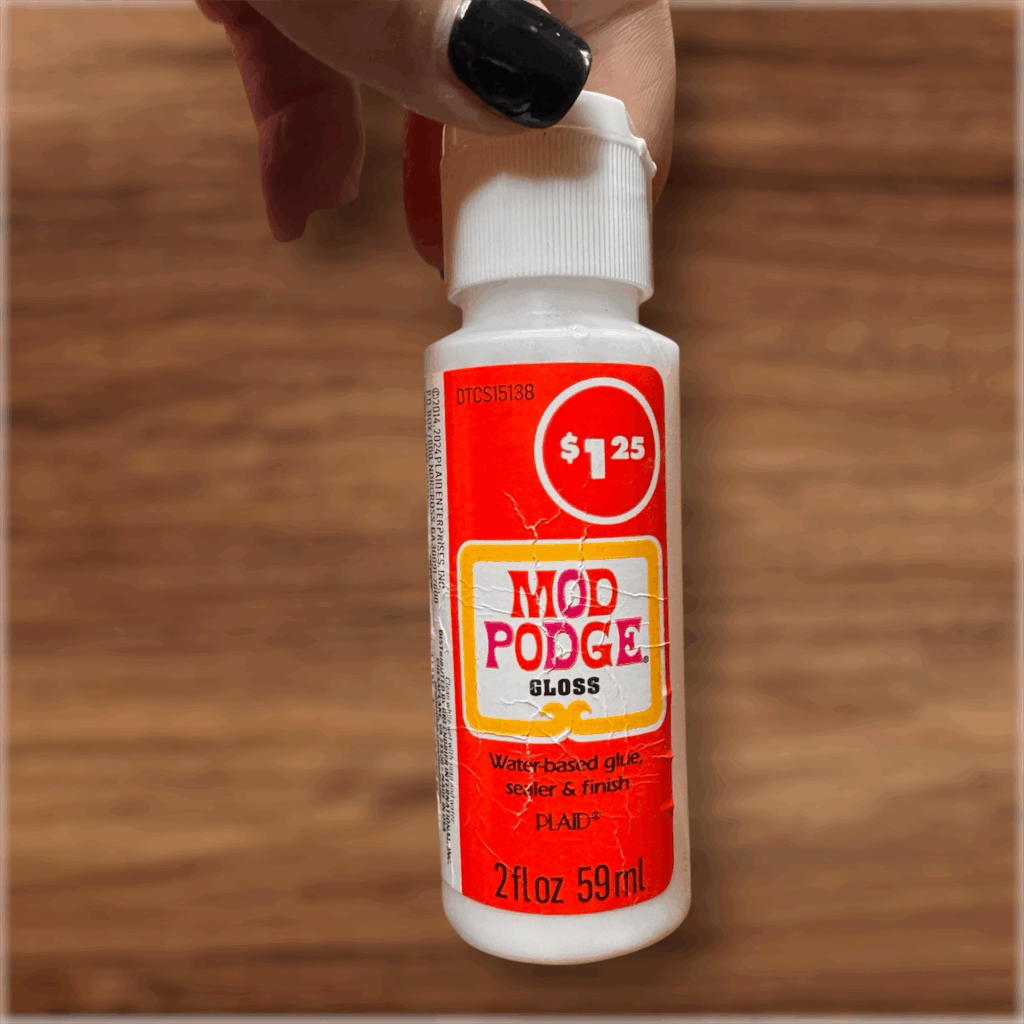
- 2 oz of Mod Podge- adds a touch of stickiness and shine
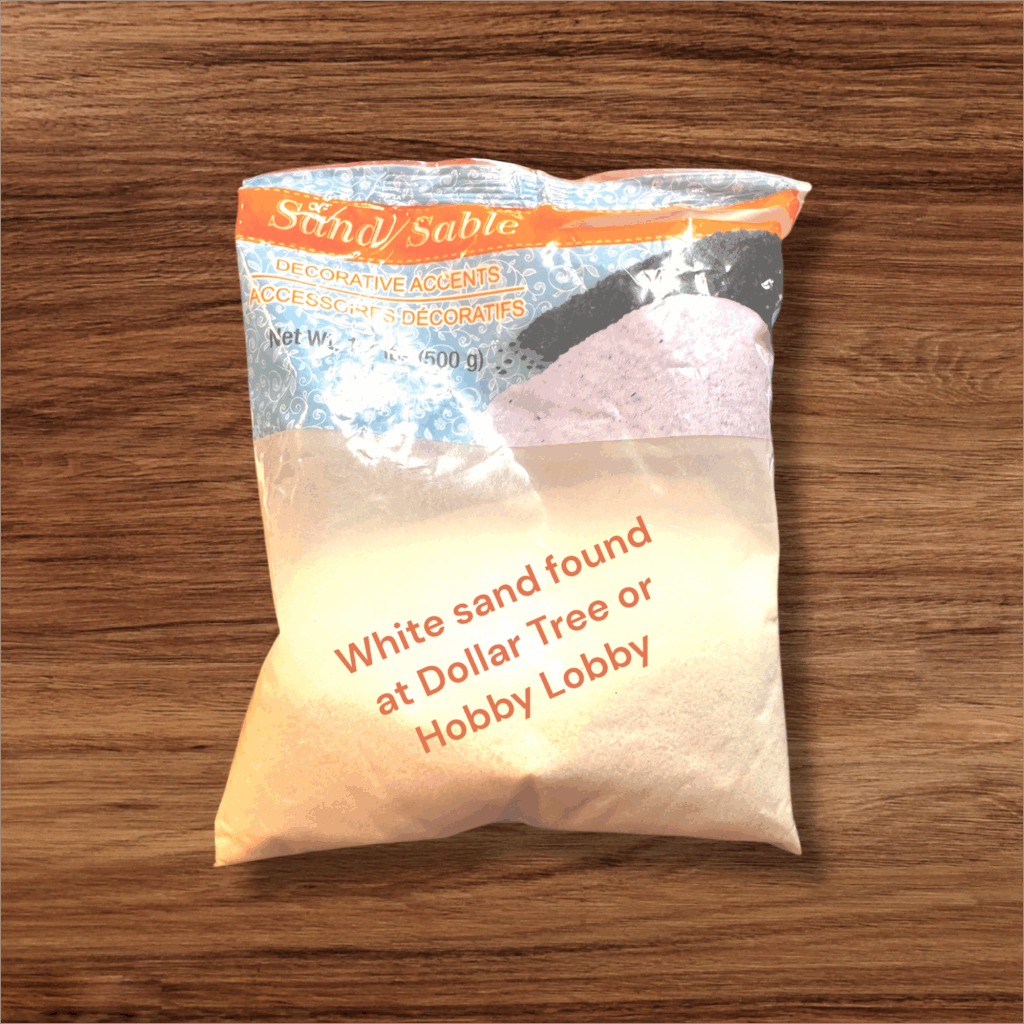
- ½ cup of white sand- gives realistic texture and sparkle
Instructions
- Start with the paint. Add your white acrylic paint to a small mixing bowl.
- Pour in the Mod Podge. This acts as your “glue” helping the snow stick beautifully to surfaces.
- Stir in the white sand. Mix until it’s thick, smooth, and evenly textured-like fresh snow.
- Store in an airtight container. Your faux snow will last for several weeks when sealed properly.
How to Use Your Faux Snow
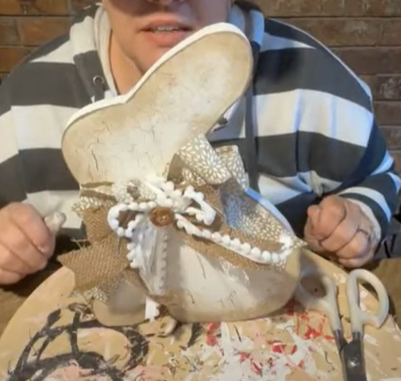
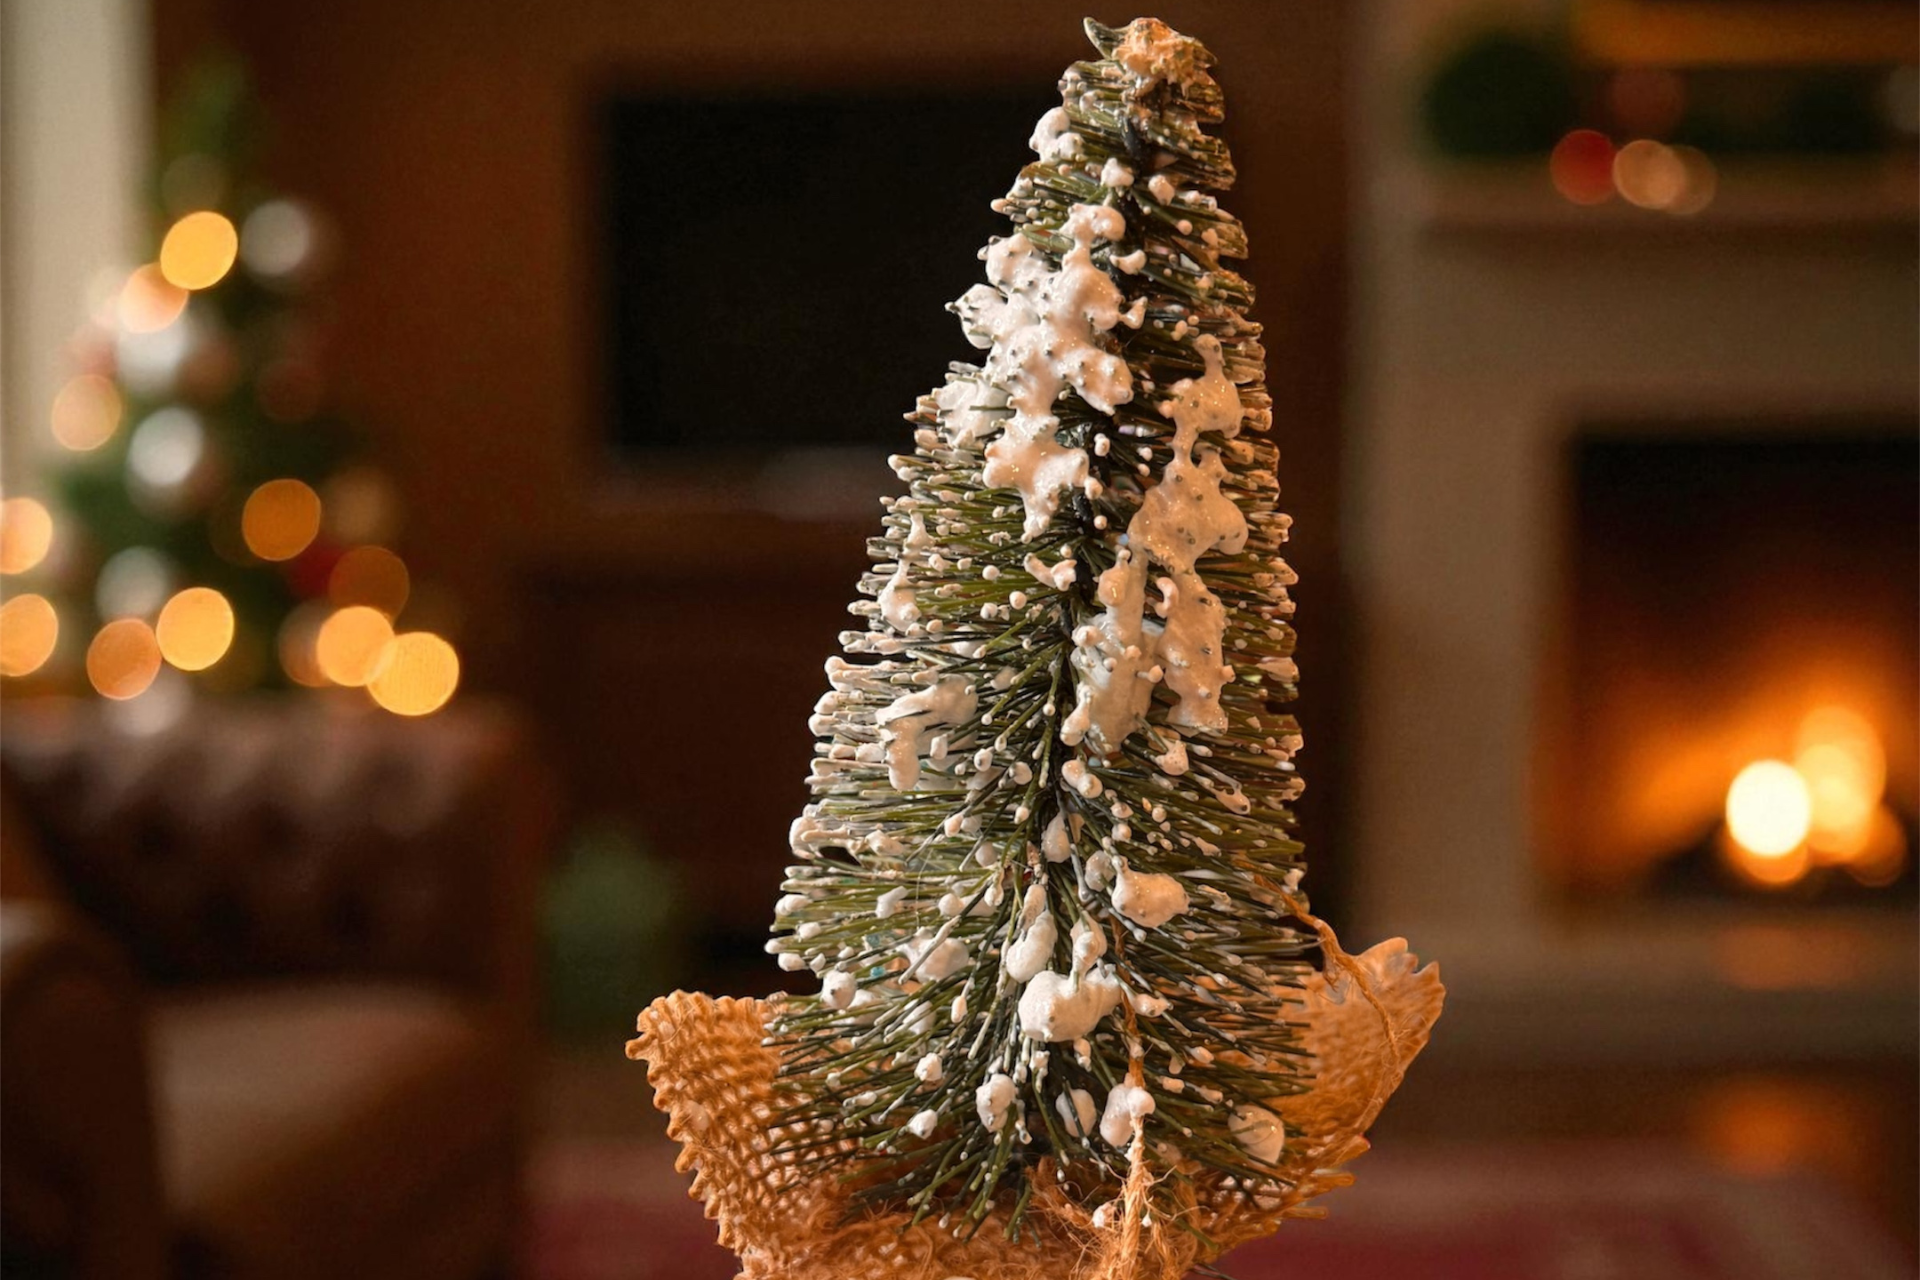
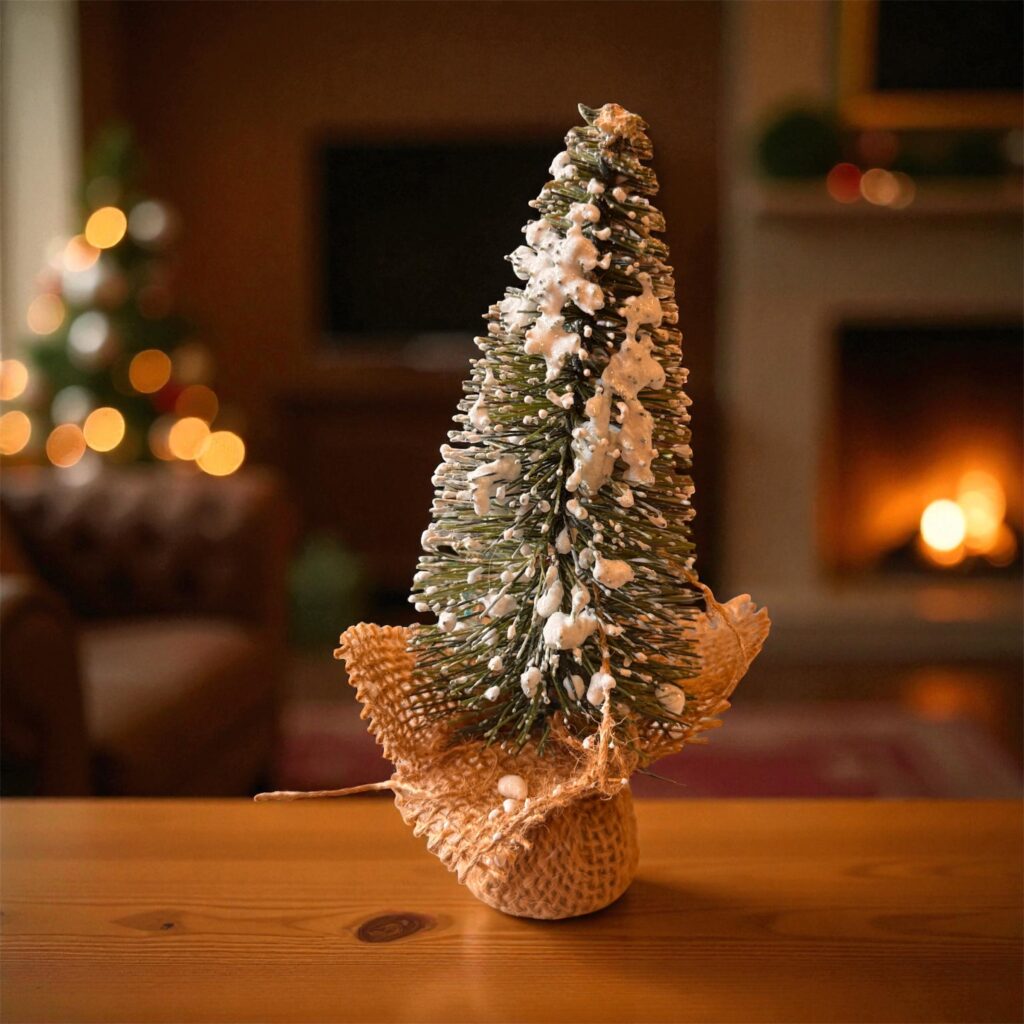
- Brush onto pinecones, wreaths, and garlands for a snowy effect
- Dab on mini trees and Christmas village rooftops
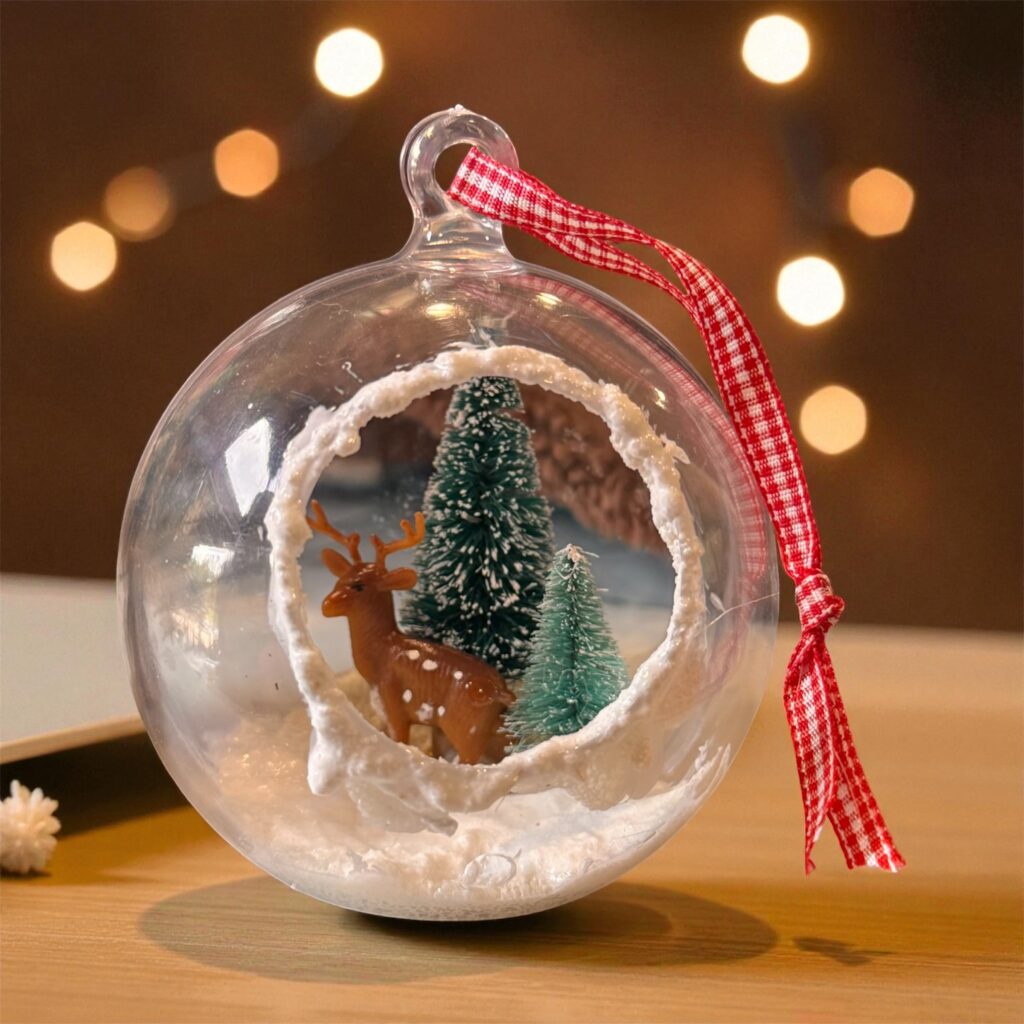
- Add to signs, ornaments, or photo frames for holiday sparkle
- Sprinkle with fine glitter for extra shimmer
Tip
Want a fluffier snow look? Stir in a small pinch of baking soda or cornstarch for extra volume. And remember – keep it sealed tight when your’re not crafting!
At October Roads Studio, I believe creativity connects the heart and home – and sometimes, all it takes is a small, handmade touch to bring joy to a space. This faux snow recipe is a simple reminder that magic often lives in the details: a snowy pinecone, a frosted tag, or on an ornament.
So grab your supplies, cue your favorite Christmas playlist… and let a little snow fall right across your craft table!